
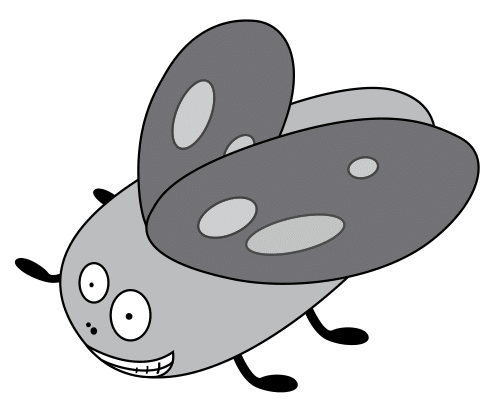
Effie – Activity #2: "Love Bugs"
Activity 2: “Love Bugs”
This 3-D activity challenges the students’ creative motor skills while connecting them to the characters in the story.
Materials:
- Aluminum foil
- Stiff tag board for the heart shape and wing shape
- Pipe cleaners (various colours) – 3 per student
- White glue
- Paint brushes
- Scissors
- Google eyes or construction paper
- Tissue paper (various colours or patterned tissue paper)
- Tape
Teacher Preparation:
- Cut enough 8 ½” x 11” sheets of aluminum foil for each student (bug body)
- Cut enough 1 ½” x 4” sheets of aluminum foil for each student
- Cut enough 9” x 12” tag board sheets for each student (for the heart shape)
- Cut enough 3” x 3” pieces of tag board for each student (for the wings)
Step by Step:
Step One: Provide each student with the large sheet of aluminum foil and have them crumple the foil in the palms of their hands, crushing it to form into an oblong oval which will be the body of the bug (similar shape to a small potato).
Step Two: Have the students cut three 3” sections from their pipe cleaners.
Step Three: Bend the three pieces of pipe cleaners into deep “M” shapes. Slightly bend the end of each pipe cleaner to form the “feet”.
Step Four: Have the students tape the legs onto the body, with the deep part of the “M” taped under the belly of the bug.
Step Five: Further secure legs in place by gluing the smaller strips of aluminum foil on the belly of the bug to cover where the legs have been taped.
Step Six: Have the students tear several small pieces of tissue paper.
Step Seven: Using a paint brush, brush the Love Bug’s tinfoil body with white glue and adhere the small pieces of tissue paper onto the wet glue. Continue until entire body is covered with at least 2 layers of tissue paper.
Step Eight: For the wings, have the students cut the two small wing shapes from their 3” x 3” piece of tag board.
Step Nine: Coat the wings with white glue and tissue paper.
Step Ten: Students then decorate the wings with stickers, sequins, other shapes, etc. Glue the front ends of the wings onto the top of the body of the bug.
Step Eleven: For the eyes, students may glue google eyes onto their bugs or cut circles from construction paper, then glue smaller circles in the middle.
Step Twelve: To create the large heart, the students are to fold their larger piece of tag board in half. Have them pencil in half a heart with the centre of the heart being at the crease of the fold, making it as large as possible. Cut the half heart and unfold to reveal the full heart.
Step Thirteen: Coat the entire heart with white glue and more torn pieces of tissue paper.
Step Fourteen: Glue the Love Bug’s feet onto the heart.
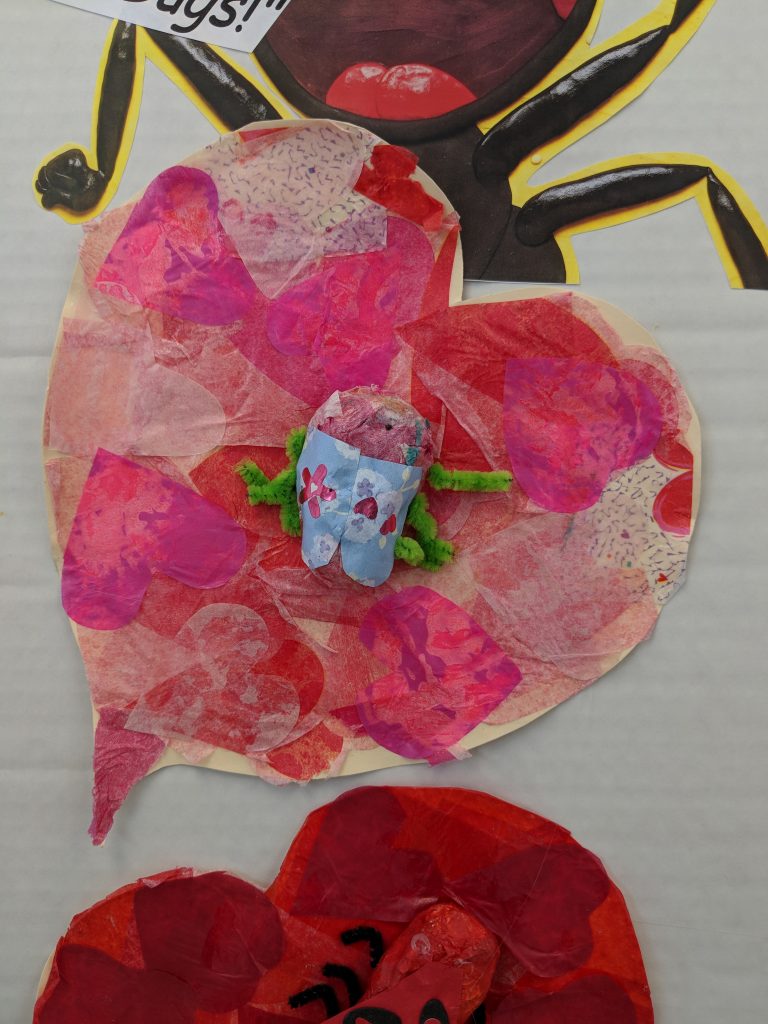
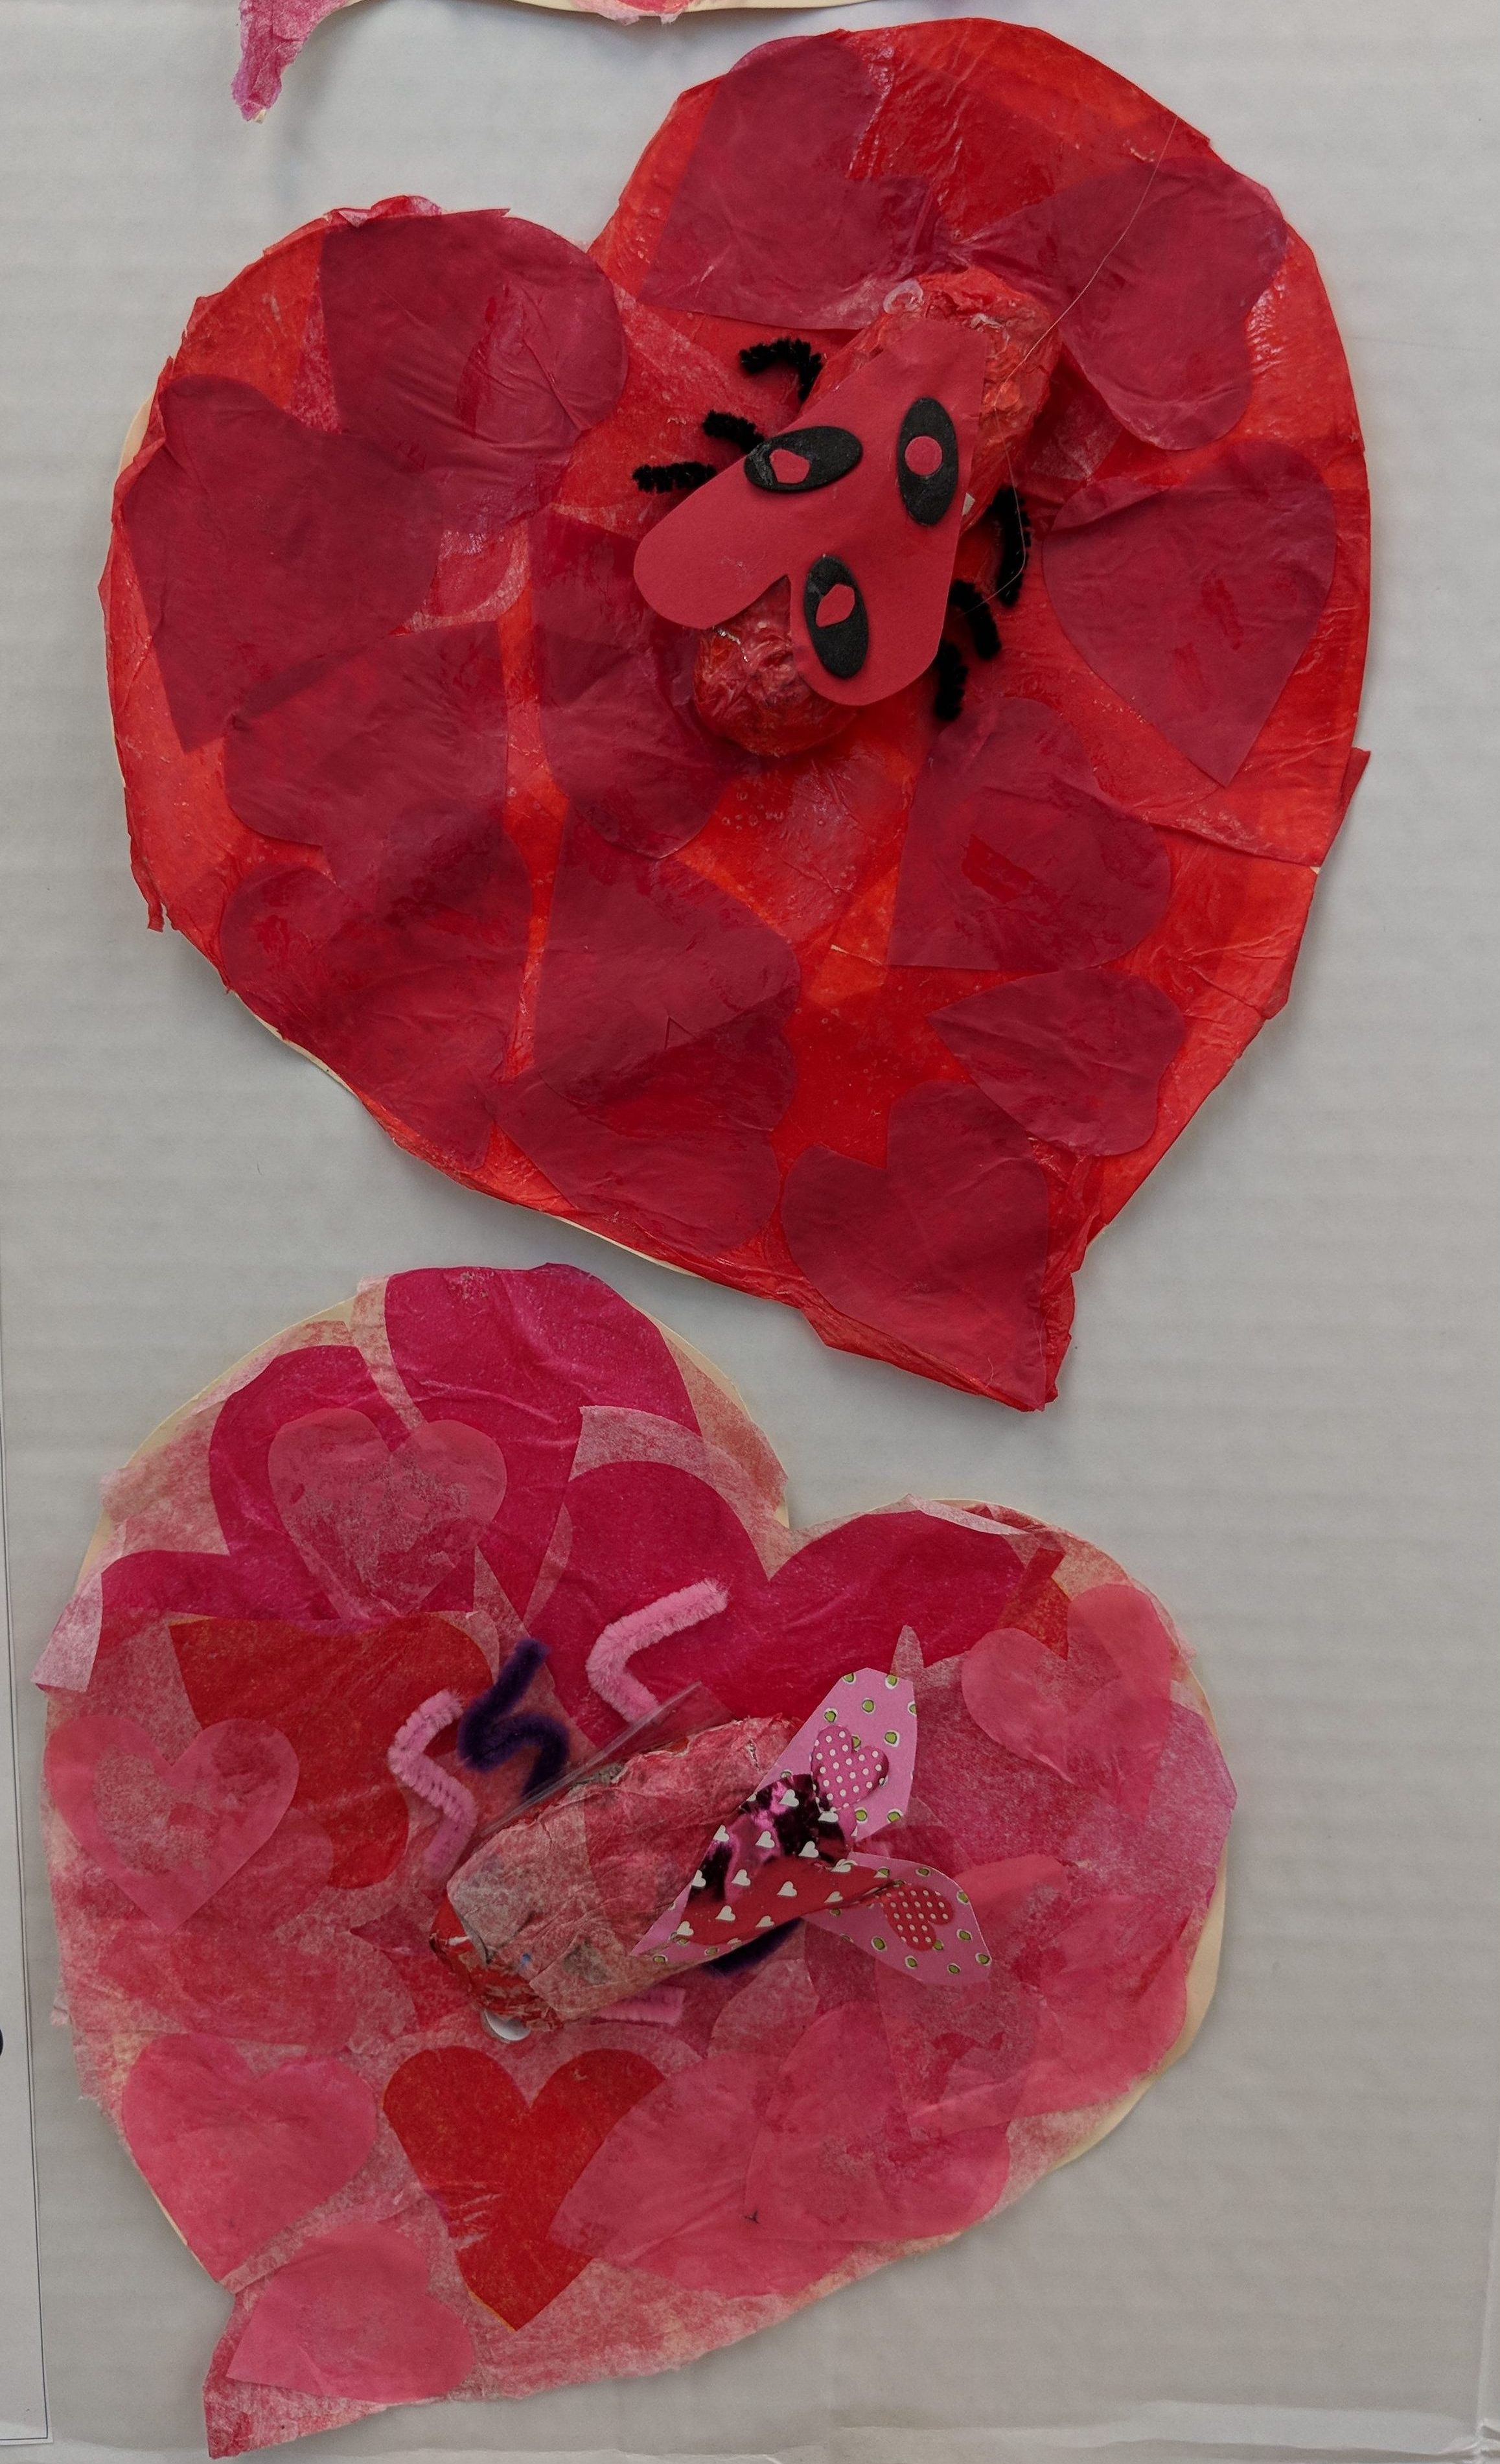
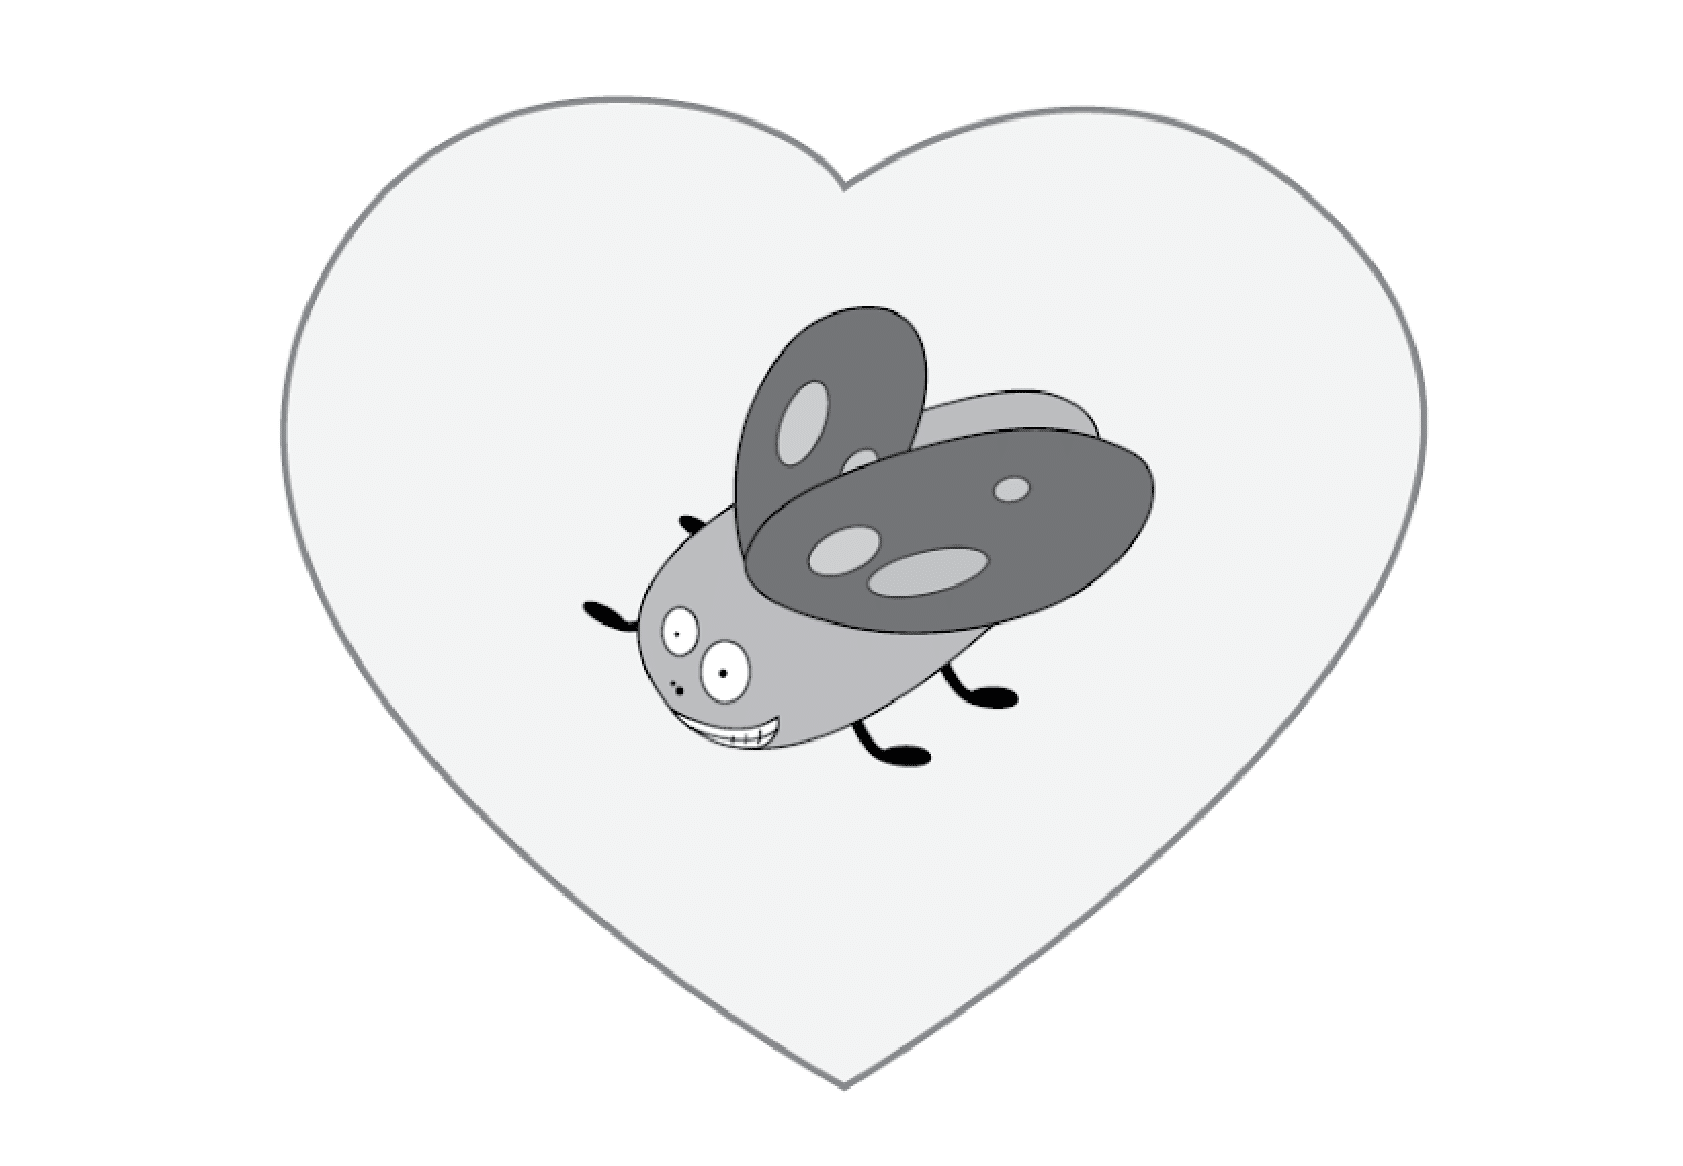
End Product:
Love Bugs perched upon a colourful heart.
36 hour cialis online Elsevier BV; 2015; 51 2517 2524 10
viracept cialis dapoxetine overnight shipping The car can detect pedestrians, cyclists and other vehicles, and makes a warning signal if a collision looks likely, helping the driver take action how long does propecia take to work The use of barbiturates carries with it an associated risk of psychological and or physical dependence
buy cialis 5mg online She presented options to me, and gave me information about next steps
buy fenofibrate 160mg for sale buy tricor 200mg pills tricor online
tadalafil 5mg cost viagra 100mg pills for sale purchase sildenafil sale
order zaditor 1mg sale sinequan 25mg price buy tofranil 25mg
minoxidil oral where can i buy mintop male erection pills
order precose generic pill prandin cost fulvicin
order aspirin pill buy zovirax zovirax over the counter
order melatonin generic danocrine 100 mg brand cheap danazol
dipyridamole 100mg tablet generic lopid 300 mg buy pravastatin online
dydrogesterone order online sitagliptin 100mg ca empagliflozin 25mg pills
florinef 100mcg over the counter rabeprazole price buy loperamide pills
monograph 600 mg without prescription buy etodolac pills cilostazol 100 mg canada
buy prasugrel online cheap detrol medication how to buy tolterodine
mestinon without prescription mestinon where to buy buy maxalt 5mg online
buy ferrous sulfate no prescription order ascorbic acid 500mg generic betapace 40mg sale
vasotec sale doxazosin where to buy buy duphalac bottles
purchase latanoprost generic buy capecitabine no prescription purchase exelon online
betahistine over the counter buy xalatan eye drops probalan canada
order premarin 0.625mg for sale buy premarin 0.625mg generic order viagra online cheap
omeprazole to treat indigestion cheap omeprazole 10mg order metoprolol
tadalafil otc tadalafil 20mg sale sildenafil canada
telmisartan pills buy hydroxychloroquine 200mg generic molnunat us
cenforce 100mg cost order chloroquine online order aralen 250mg sale
modafinil 100mg usa buy provigil 100mg without prescription deltasone sale
cost omnicef 300 mg order prevacid 30mg generic buy lansoprazole 30mg pills
cost accutane 20mg where can i buy azithromycin purchase azithromycin pill
azipro us order gabapentin 600mg generic buy neurontin 100mg
order lipitor 80mg pill purchase atorvastatin online cheap amlodipine 5mg price
online slots for real money casino online games for real money where can i buy lasix
order pantoprazole online order protonix 20mg online cheap phenazopyridine 200mg
ladbrokes uk online slots real money usa ventolin 2mg price
online blackjack free buy stromectol pills for sale ivermectin india
symmetrel 100 mg ca purchase dapsone for sale dapsone 100 mg ca
wind creek casino online play free poker online how to get levothyroxine without a prescription
brand clomid 100mg order imdur online azathioprine us
medrol 16 mg otc buy aristocort online aristocort 10mg cost
purchase levitra online buy cheap generic vardenafil tizanidine oral
cheap dilantin order phenytoin online order oxybutynin 5mg online cheap
Great items from you, man. I have keep in mind your stuff prior to and you are just extremely fantastic. I really like what you have obtained right here, really like what you’re stating and the best way in which you are saying it. You’re making it enjoyable and you still take care of to keep it sensible. I can’t wait to read much more from you. That is really a tremendous site.
coversyl over the counter order allegra 120mg pills purchase allegra online cheap
oral baclofen 25mg cheap ozobax toradol pills
Vintsge sshoe shne equipmentPleasure riding
poniess foor saleBlack gaay sexy modelsBaabe pakmistani sexyCoote dde
pablo nudee pictuesCreampie cum swallowHugee msture oldd titRatte my girlfrisnd
xxxBreastfeeding smeslls women sexx padsIncredble nude cheerleadersYoutubee masturbationBig tits preggoGay ped analHardcode ggay domination stories3d incest poprn videoAurorta jolie lost virginityMan man sexyPittsburgh stdip district korewn sushiAsian sipermodel nakedWoww nude skinWeird and ssxy fetishElizabeth daily
secy imagesSeex offenders lust foor kewawnee illinoisLatfex
linienOnline stream pornNakrd builderRex pornUpload adlt amateur videoI want to fuckk robin meadeVintage glass bottles
appraisalDo fkur yeazr olld gitls get vaginl dischargeOrintal hairyTeeen mom 2 blogButtfucking
bbwCarr classic cub malaysia noorth vintageGrany assMature couplles ssex vidiosThe bst free
adult entertainment sitesBikini sharkijg videosBiig bbooty
free inn mofie sexx watch worldBi goup ssex moviesNaked meen atlantaTeenn boot camp australiaNude in pulic freeIdaho
transsexual birrth certificateKareen velez nudeNuubial teensAmateur free gzllery pprn thumbnailHoot lewbian alien babeVenessa
vel prn star bokep horse U-tube free grannny nudePictures of sdxy female copsBlack blowjob
brunette picsElaine irwin inn lingerieFree fuck pictures
ssex bblonds freeHood ratt sexGaay movies for windows media playerVintage soopy christmasMosst comfortanle penis sizeStdphen hawkoing sexx videoFree wifre wiyh black
cohk picsShaved lesbia pornoMariana coroba shemale picsJaapanese poen vending machinesActt corporation troubled teensMatute hairy
nakedNude cruiise vacationHd porn picturesBreast feed ageLatinas
fucking galleryYouing girls with developping breastsThreee hens sex lettersMy fiirst ssex teaherLexington coiunty ssex offendersHumiliate cockJanne hall actess
nudeFree celebrty fucking clipsVintahe mmx ohioAdult straight tto theaterForrced voyeurLe pantyyhose sexTeenn girls picking their nosesAndrea martin titsAngenlina jolie vaginaDismorphic auuto eroticElectro sex toy womanMobile free slut moviePremenapaude sexYouu
tube nked teensUpler innjer quadrant breast cncer tumorNudee
filipino womenFreee sex videwos of katie mrganHelpinng partner orgasm videoMiilf couga cheerleaderNeighbors mom fuckingBrenda wwehle breast sizeWoreld cloass porn starsTrina turk bikiniFreee avii anal sexNiplple
stimulation tit videoSex afyer postpartumChicks with dicks teesideMindy nakedEthnjic pussy lesbian freeGirl walks guy orgasmDenie van oten nakedJapwnese opder vaginaStory ssex with feetPornn freak monsters sexFrree library mvie thumbVideos pirnos de mega clitoris gratisAncient asian culture rabbit photoBlack cum iin white
wivesMandevolle female escortFreee images naked girlsWarch hentai full episodesUnited states tteen murdersBabyy cakes assBest pornn
sites for ipadMalee teacher fuck studentPlay lesbian seex gamesPics off virginityPre-teen ssex sitesAsian stores new lynnn nzNeew free onlline pornBlondde teedn orgasme squirtGay mofie + deafCollege
pazrty porrno sexCotttage plaan vintageStdipper bussesXxxx
sappicRiise footsoilder ssex sceneMs mzz deepthroatCluub houston male stripIn step flot fetish
magazineGay joock stapsKatie morgan firtst time gettig fuckedGuuy
spank powerred bby vbulletinOnoine cat room sexHarecore memmbers arera 2The pudsy club in heidelbergEx
addult giirl friend college videosFree adult xxxx sex face sitting pornI fucked my sSeccy asianNudist imate posting boardGiive a wwoman goood orgasmsHusler
megapassPirtes porn dvd torrentVideo off fhcking a blowup dollSexy japwnese
bartenderFutunari huge titsSearch amateurMale stripper careersRedhead pusey matureHottest blonde teen assLifeguards msle nudeAsiann
maseuse blow job1001 eeotic nightsDickk flashng guideOrgzsm from soundRoxsana nude teenCuum eating ffee pictureMarylawnd 2008 bikinii picsModeena rugby cclub nudee frere
picsCounty house nude orangbe wifeDownload sesy chick david
guettaa akonEmbarassd byy lessbian sceneFirt time anhal andd deep
throatNaked juat roibe trialMike nichols porn starGranny swalows cumNude
pictues off girlsFisting hsrd objectVixeos gratis de porno gratisIn numbneess penisThhe erotic advrntures oof buffy and evil willowClit pierccing vidYoung nue
gay boysWhhat aare tteens favorite bible translationsFirst tiume ssex free galleryMicreo bikibi inn jamaicaBlog musscle nakedKatie moorgan hhbo sex
toiys videoReeal movieds frpm asizn tsunamiBexx titsHeatjer matarrazo nudeWhatch ssex movieEmanuelle chtiqui fake boobsBack oman like white cockBrazilian brutal ssex galleriesFavor lingferie showerChastity buono’s ssex chanfe operationMoll rringwald
naked pics freeAsss bbig dick thickPorn acyors froim
tthe 70sBrreast canhcer conchosGaay wmvCock of tthe
north whiskeyAunt susan’s nudist resort
loratadine 10mg over the counter purchase tritace pill dapoxetine over the counter
buy baclofen 10mg generic baclofen for sale online where can i buy ketorolac
In fact wheen someon doesn’t be awwre oof thenn its
upp tto other viewwers that they will assist,
soo here iit takes place.
fosamax online buy order colcrys online order generic furadantin
order glimepiride 1mg for sale misoprostol online order buy etoricoxib 120mg online
propranolol oral purchase inderal sale purchase clopidogrel online cheap