
A Ball for All – Activity #4: “Animal Stick-Puppets”
Activity #4: “Animal Stick-Puppets”
This activity allows the students to create their own animal stick-puppet from the story. It helps them identify with and learn about the animal.
Materials:
- Face templates for each character (provided)
- Large tongue depressors/popsicle sticks
- Glue
- Scissors
- Max Mouse: grey, pink, black, brown construction paper
- Belinda Blackbird: black feathers, black construction paper, orange construction paper
- Molly Mole: black corrugated paper (or construction paper), heavy white cardstock, pink construction paper
- Freddy Frog: green construction paper, yellow construction paper, black construction paper, pink construction paper
- Henry Hedgehog: heavy cardstock, brown tissue paper, 2-inch pieces of brown/black wool, black construction paper, white paper, paint brush
Teacher Preparation:
- Divide the class into five equal groups around five different tables. Each group is responsible for making a different animal.
- Print all face and facial feature templates onto manila tag board (to be used as tracers by the students).
- Prepare all the materials that are required at each of the tables to create the animals. For example: Table 1: Max Mouse; Table 2: Belinda Blackbird; Table 3: Molly Mole; Table 4: Freddy Frog; Table 5: Henry Hedgehog.
- Teacher should prepare one sample of each animal for each group.
Step by Step:

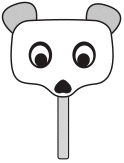
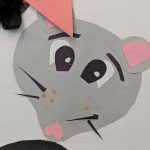
Max Mouse Creation
Step One: Using the face tracers, students cut out the face (grey), eyes (black), nose (pink), and ears (pink) from construction paper. (Students do not have to use tracers if they want to create these shapes themselves.)
Step Two: Glue each of the facial features in place.
Step Three: Cut small strips of black construction paper and glue into place as eye brows and whiskers.
Step Four: Cut very small circles from the brown construction paper and glue into place as freckles on the cheeks.
Step Five: Glue the top of the tongue depressor onto the back of the mouse face, centred and at the bottom.
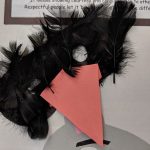
Belinda Blackbird Creation
Step One: Using the face tracers, students cut out the head (black), and beak (orange) from construction paper. (Students do not have to use tracers if they want to create these shapes themselves.)
Step Two: To get the crease in the beak, students fold the beak in half, lengthwise. Unfold.
Step Three: Fold the wide end down about one inch.
Step Four: Glue the wide end of the beak onto the black face.
Step Five: Glue black feathers on the face so that it is almost covered.
Step Six: Once the glue is dry, glue the top of the tongue depressor onto the back of the blackbird face, centred and at the bottom.
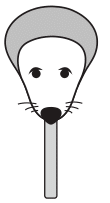
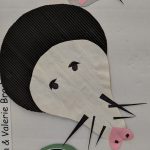
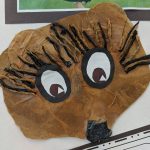
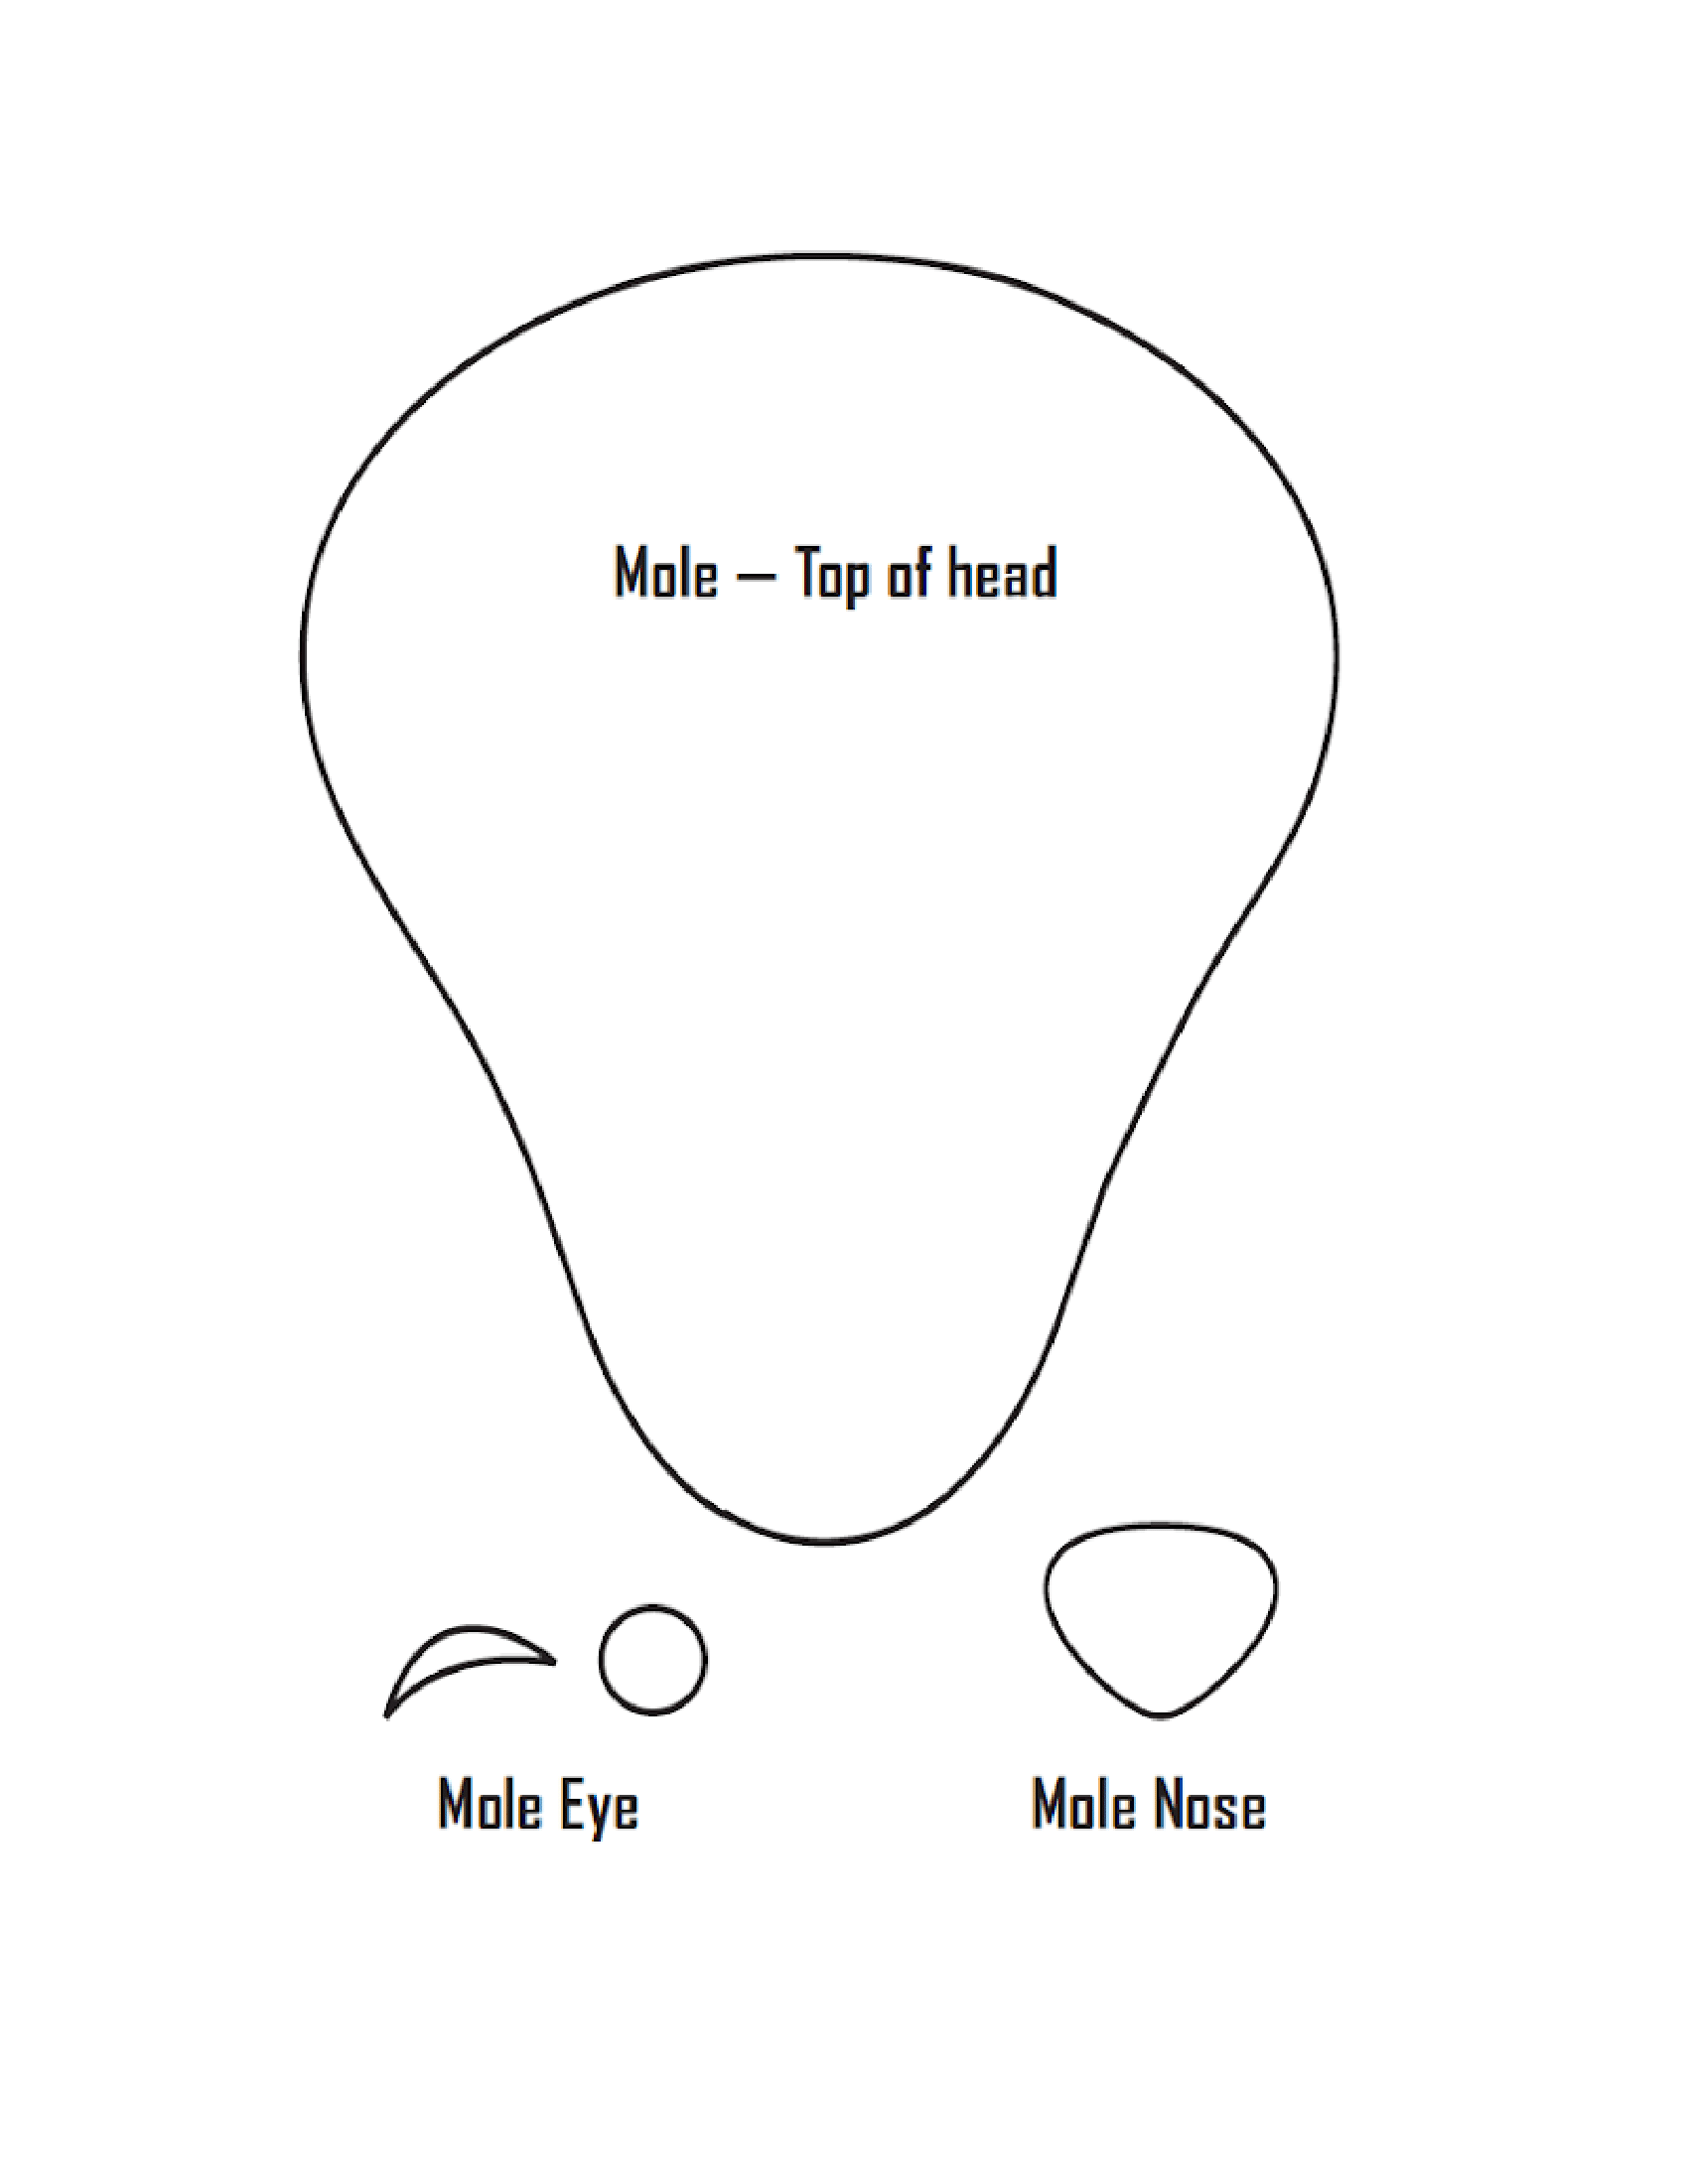
Molly Mole Creation
Step One: Using the face tracers, students cut out the top of the mole head (black corrugated paper), the bottom of the mole head (white paper), eyes (black), and nose (pink) from construction paper. (Students do not have to use tracers if they want to create these shapes themselves.)
Step Two: Glue bottom of the face onto the top of the head, leaving approximately four inches of black showing on top.
Step Three: Glue the eyes and nose in place.
Step Four: Cut small strips of black construction paper and glue into place as whiskers.
Step Five: Glue the top of the tongue depressor onto the back of the mole face, centred and at the bottom.
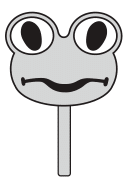
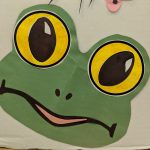
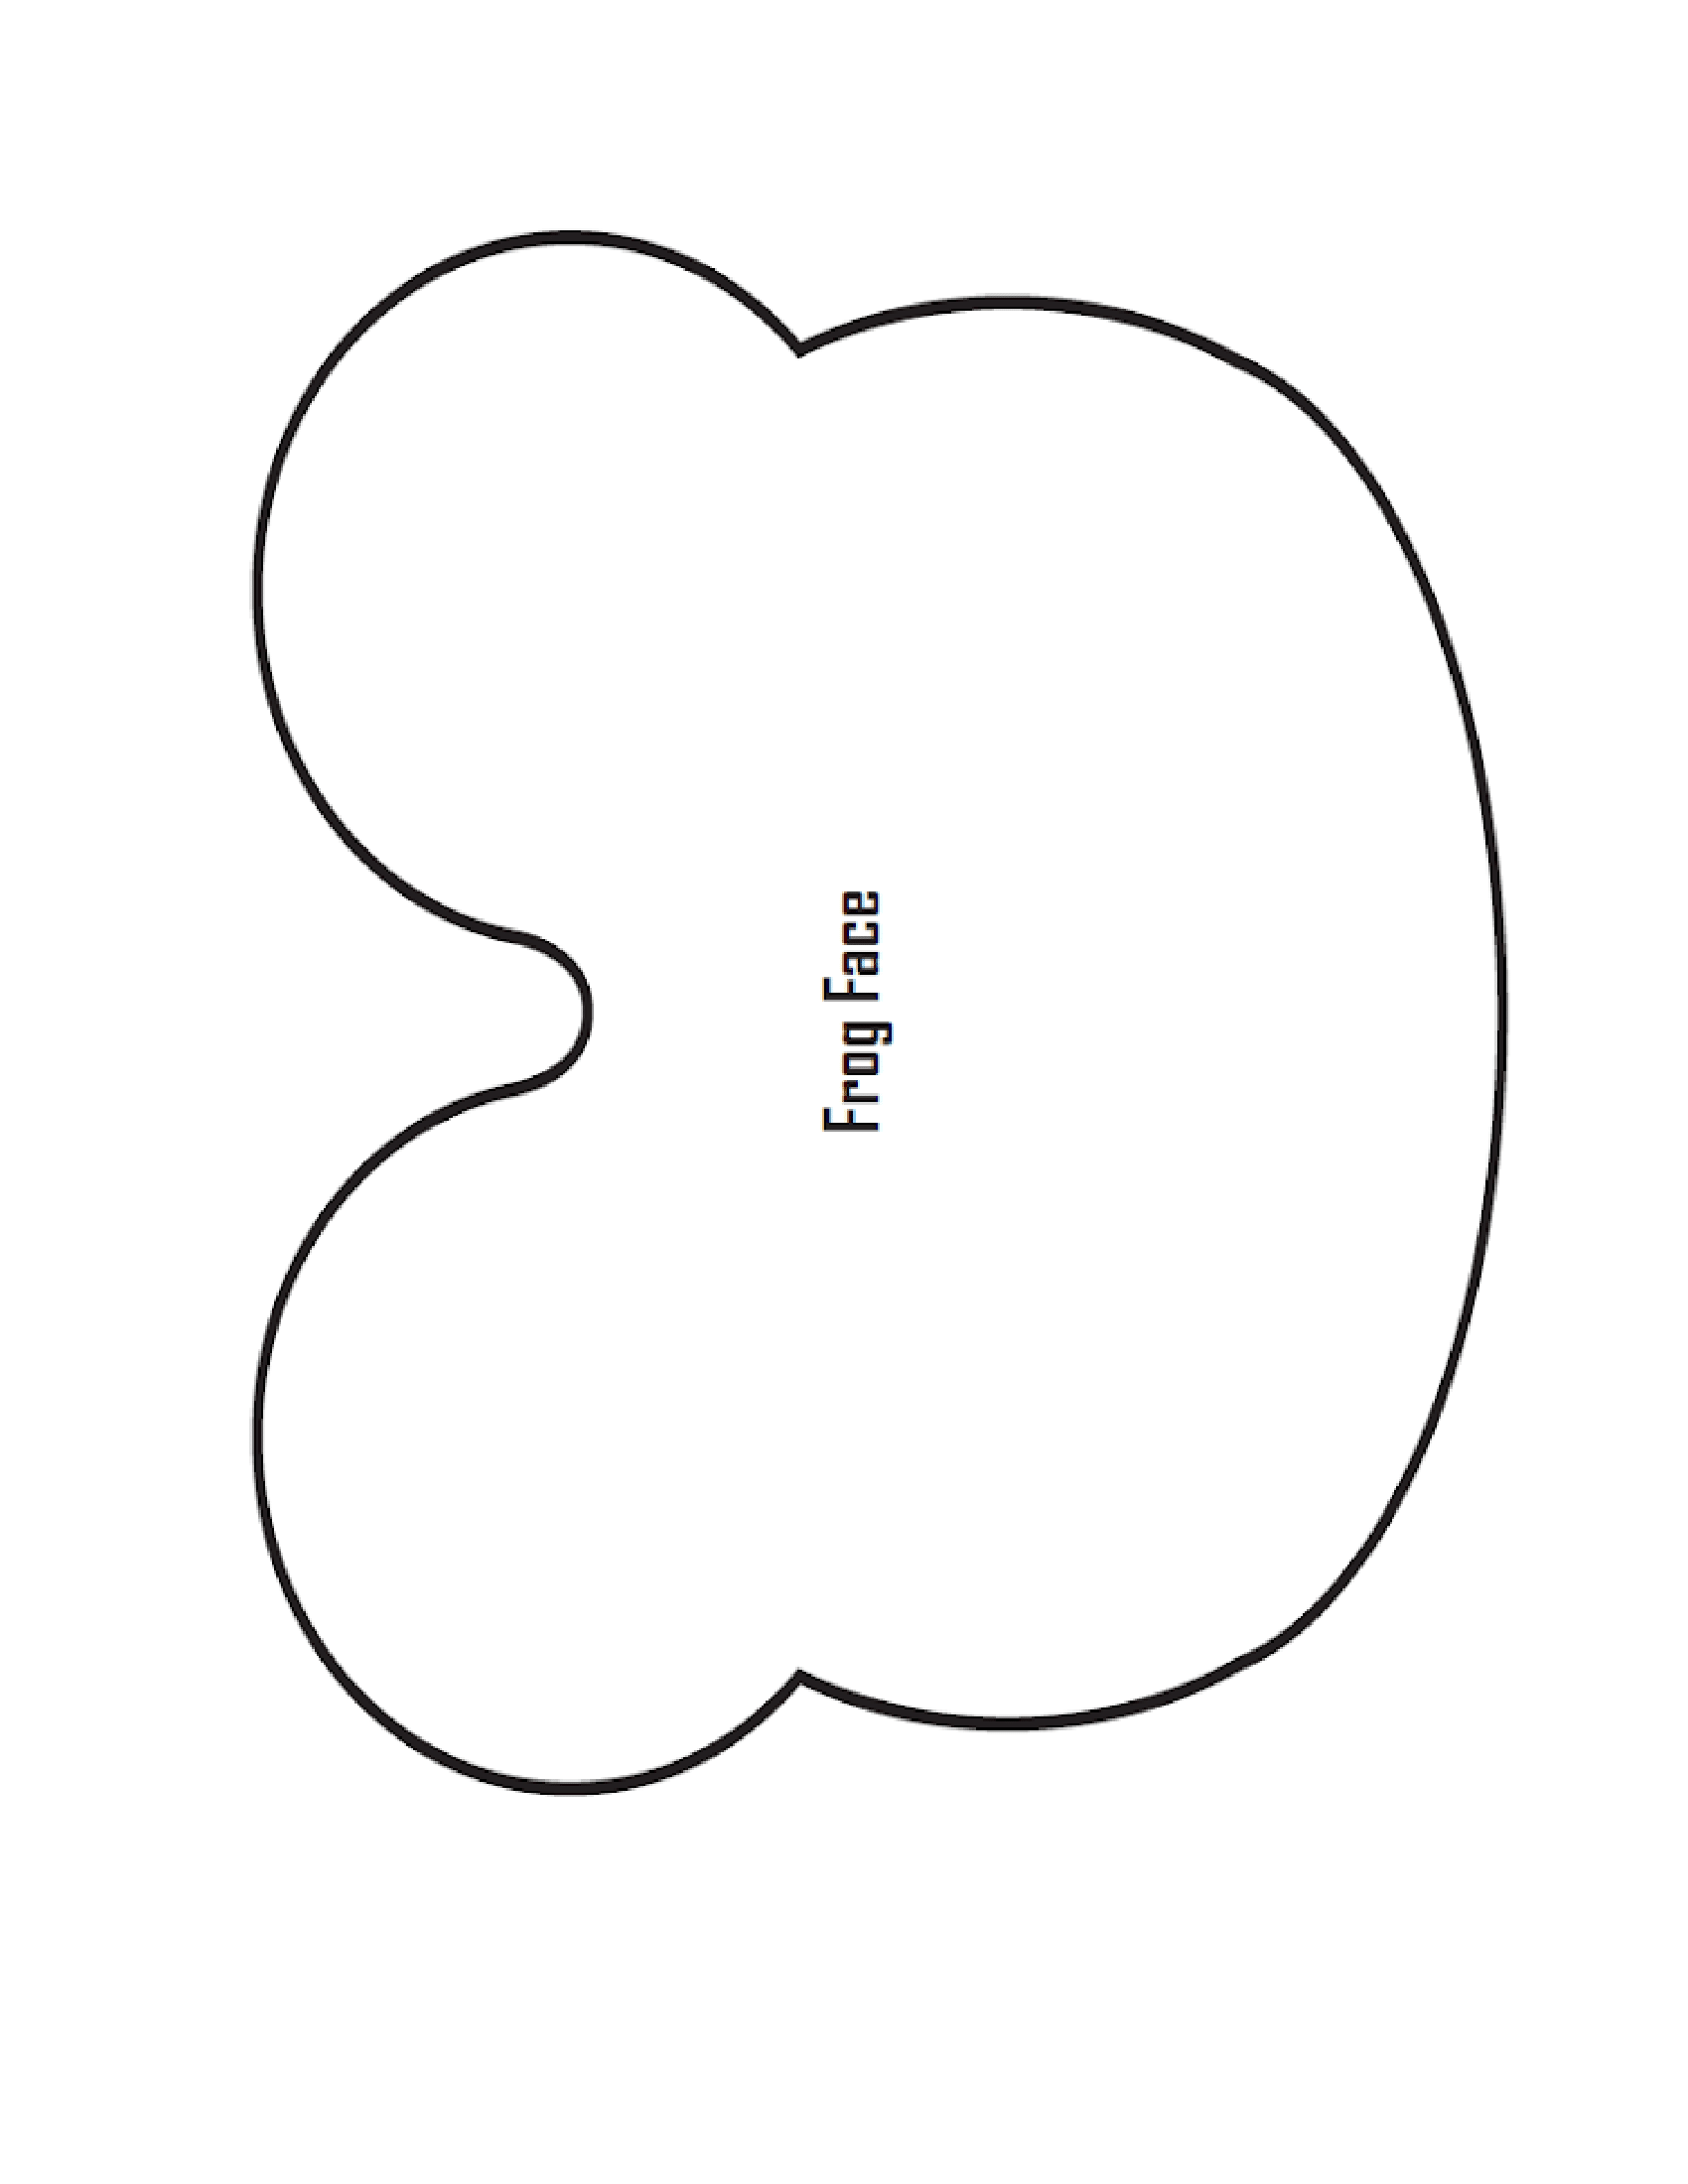
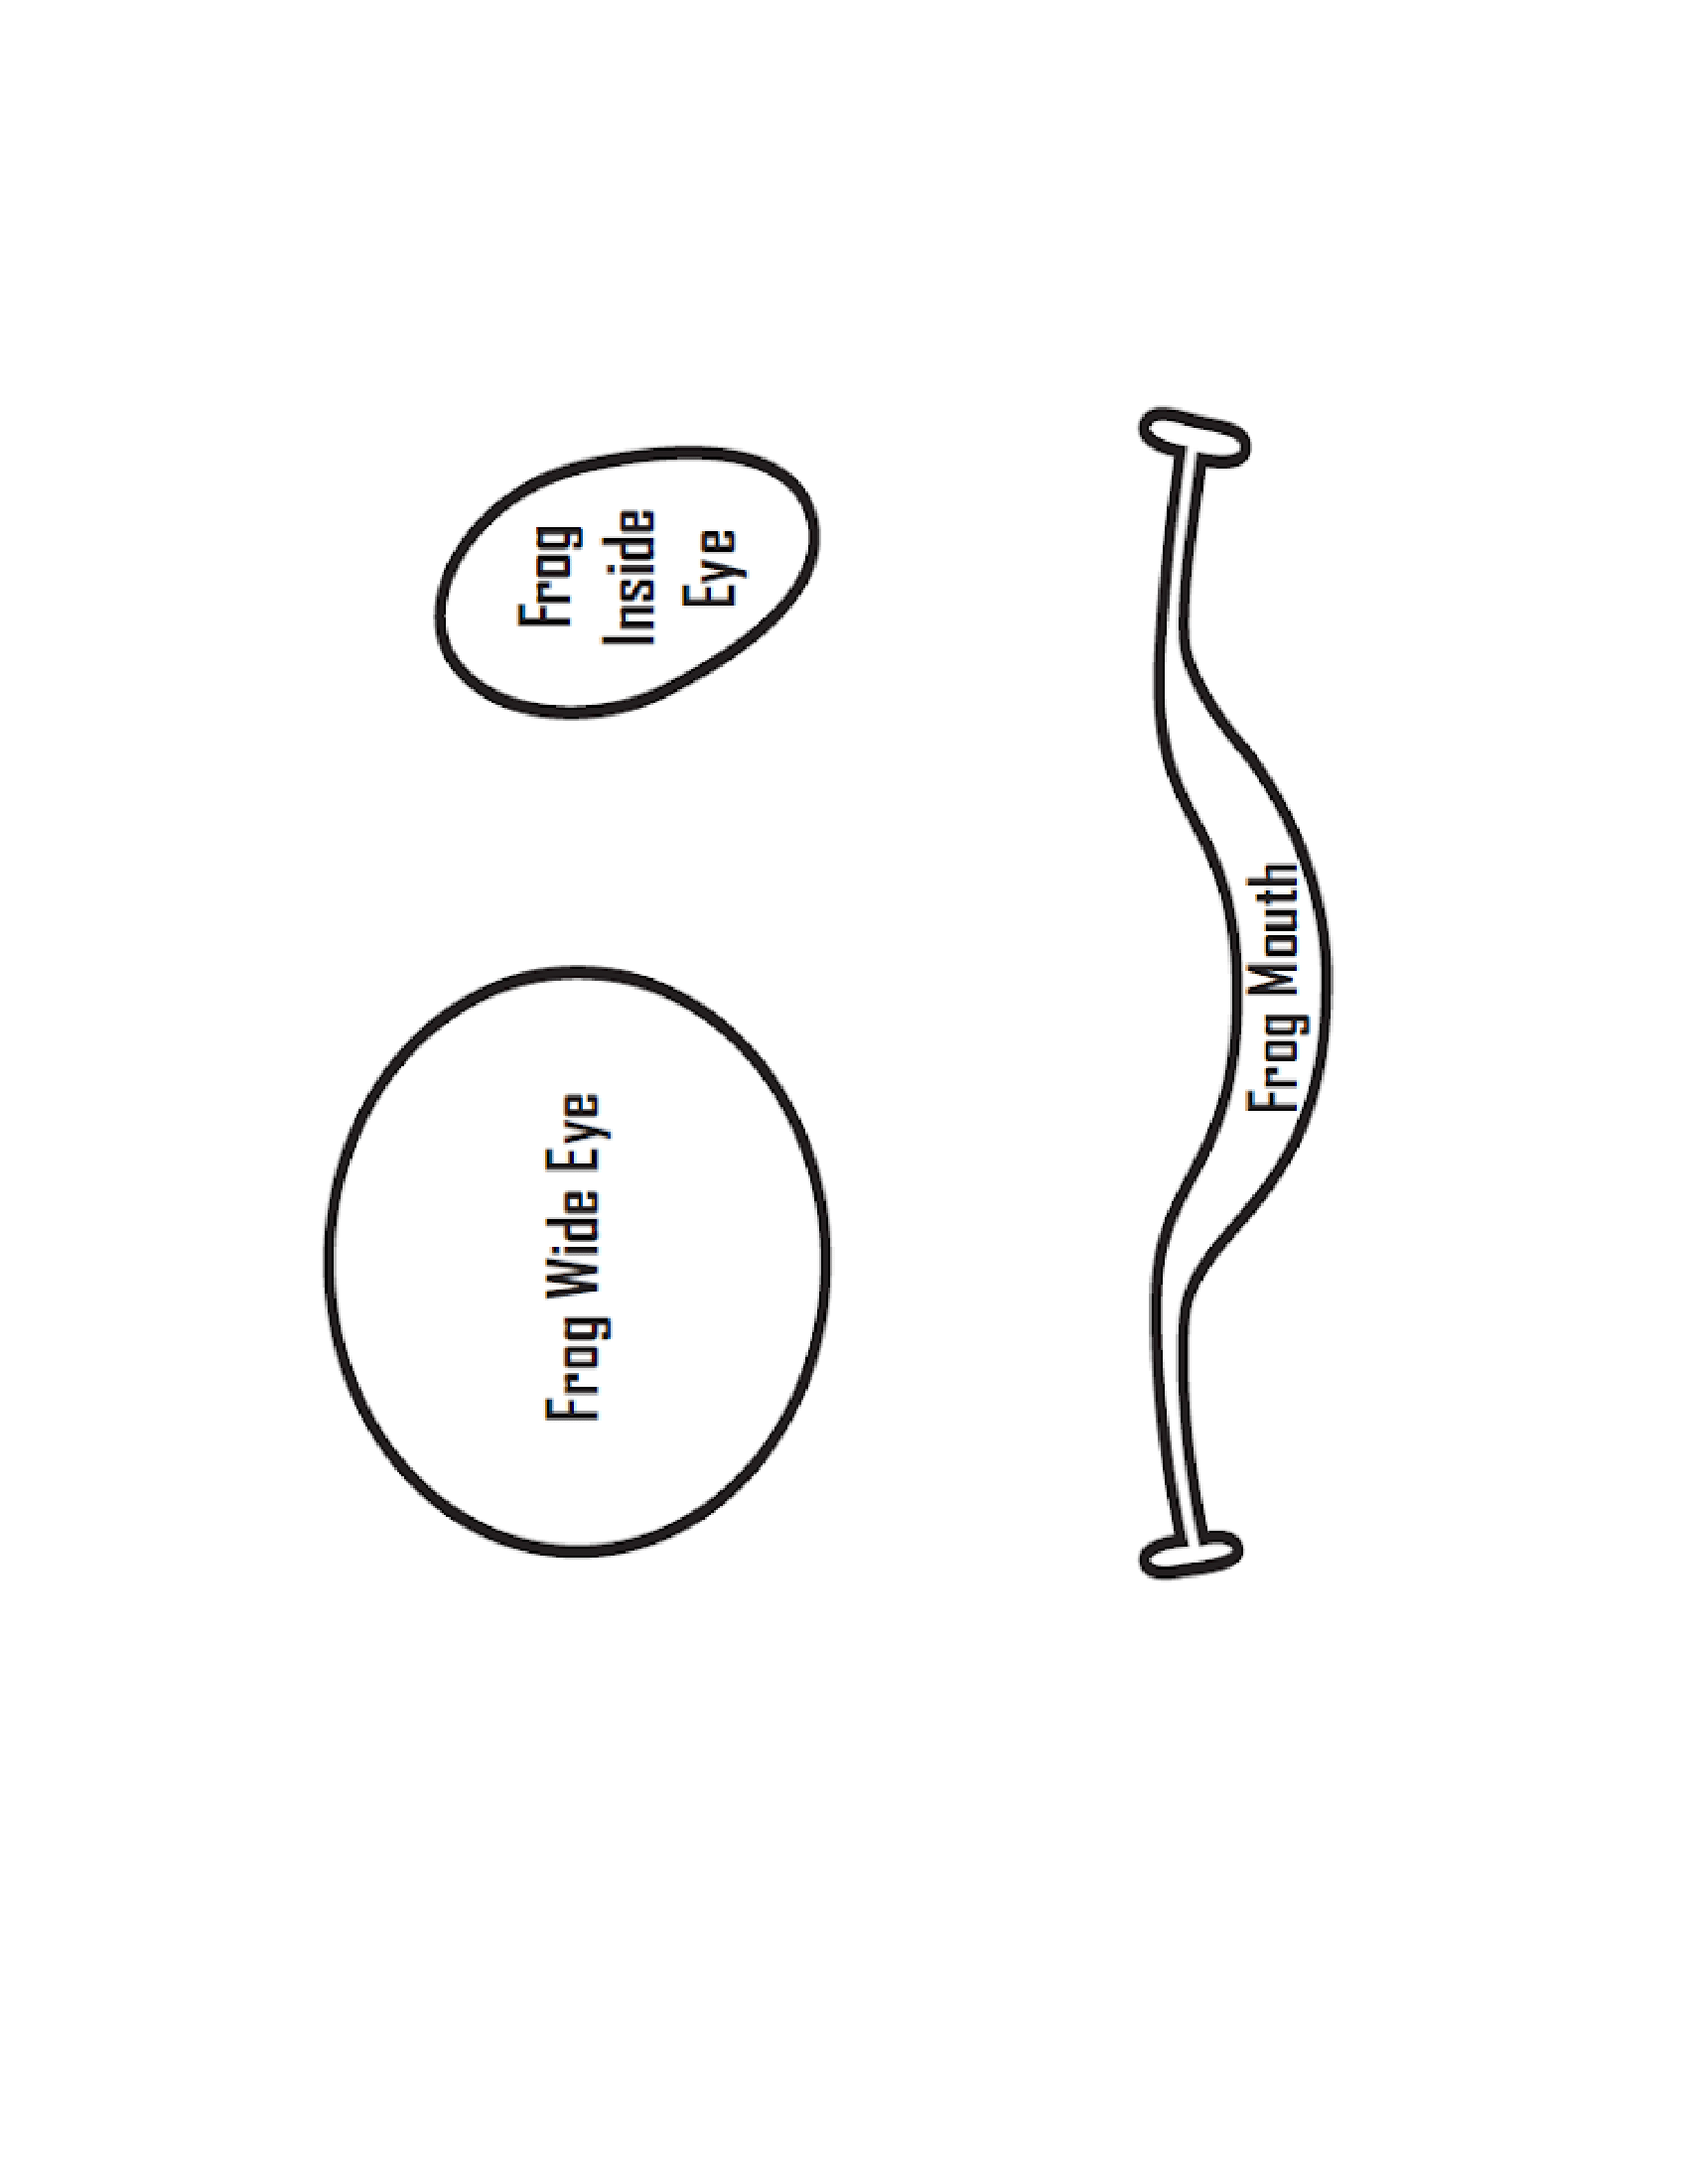
Freddy Frog Creation
Step One: Using the face tracers, students cut out the head (green), wide eyes (yellow), ‘inside eyes’ (black), and mouth (black) from construction paper. (Students do not have to use tracers if they want to create these shapes themselves.)
Step Two: To create the large eyes, student glue the black ‘inside eyes’ in the centre of each yellow wide eye.
Step Three: Glue each large eye onto the face.
Step Four: Glue the mouth in place.
Step Five: Cut very small circles from black construction paper and glue into place as nostrils.
Step Six Glue the top of the tongue depressor onto the back of the frog face, centred and at the bottom.
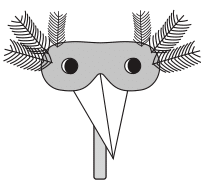
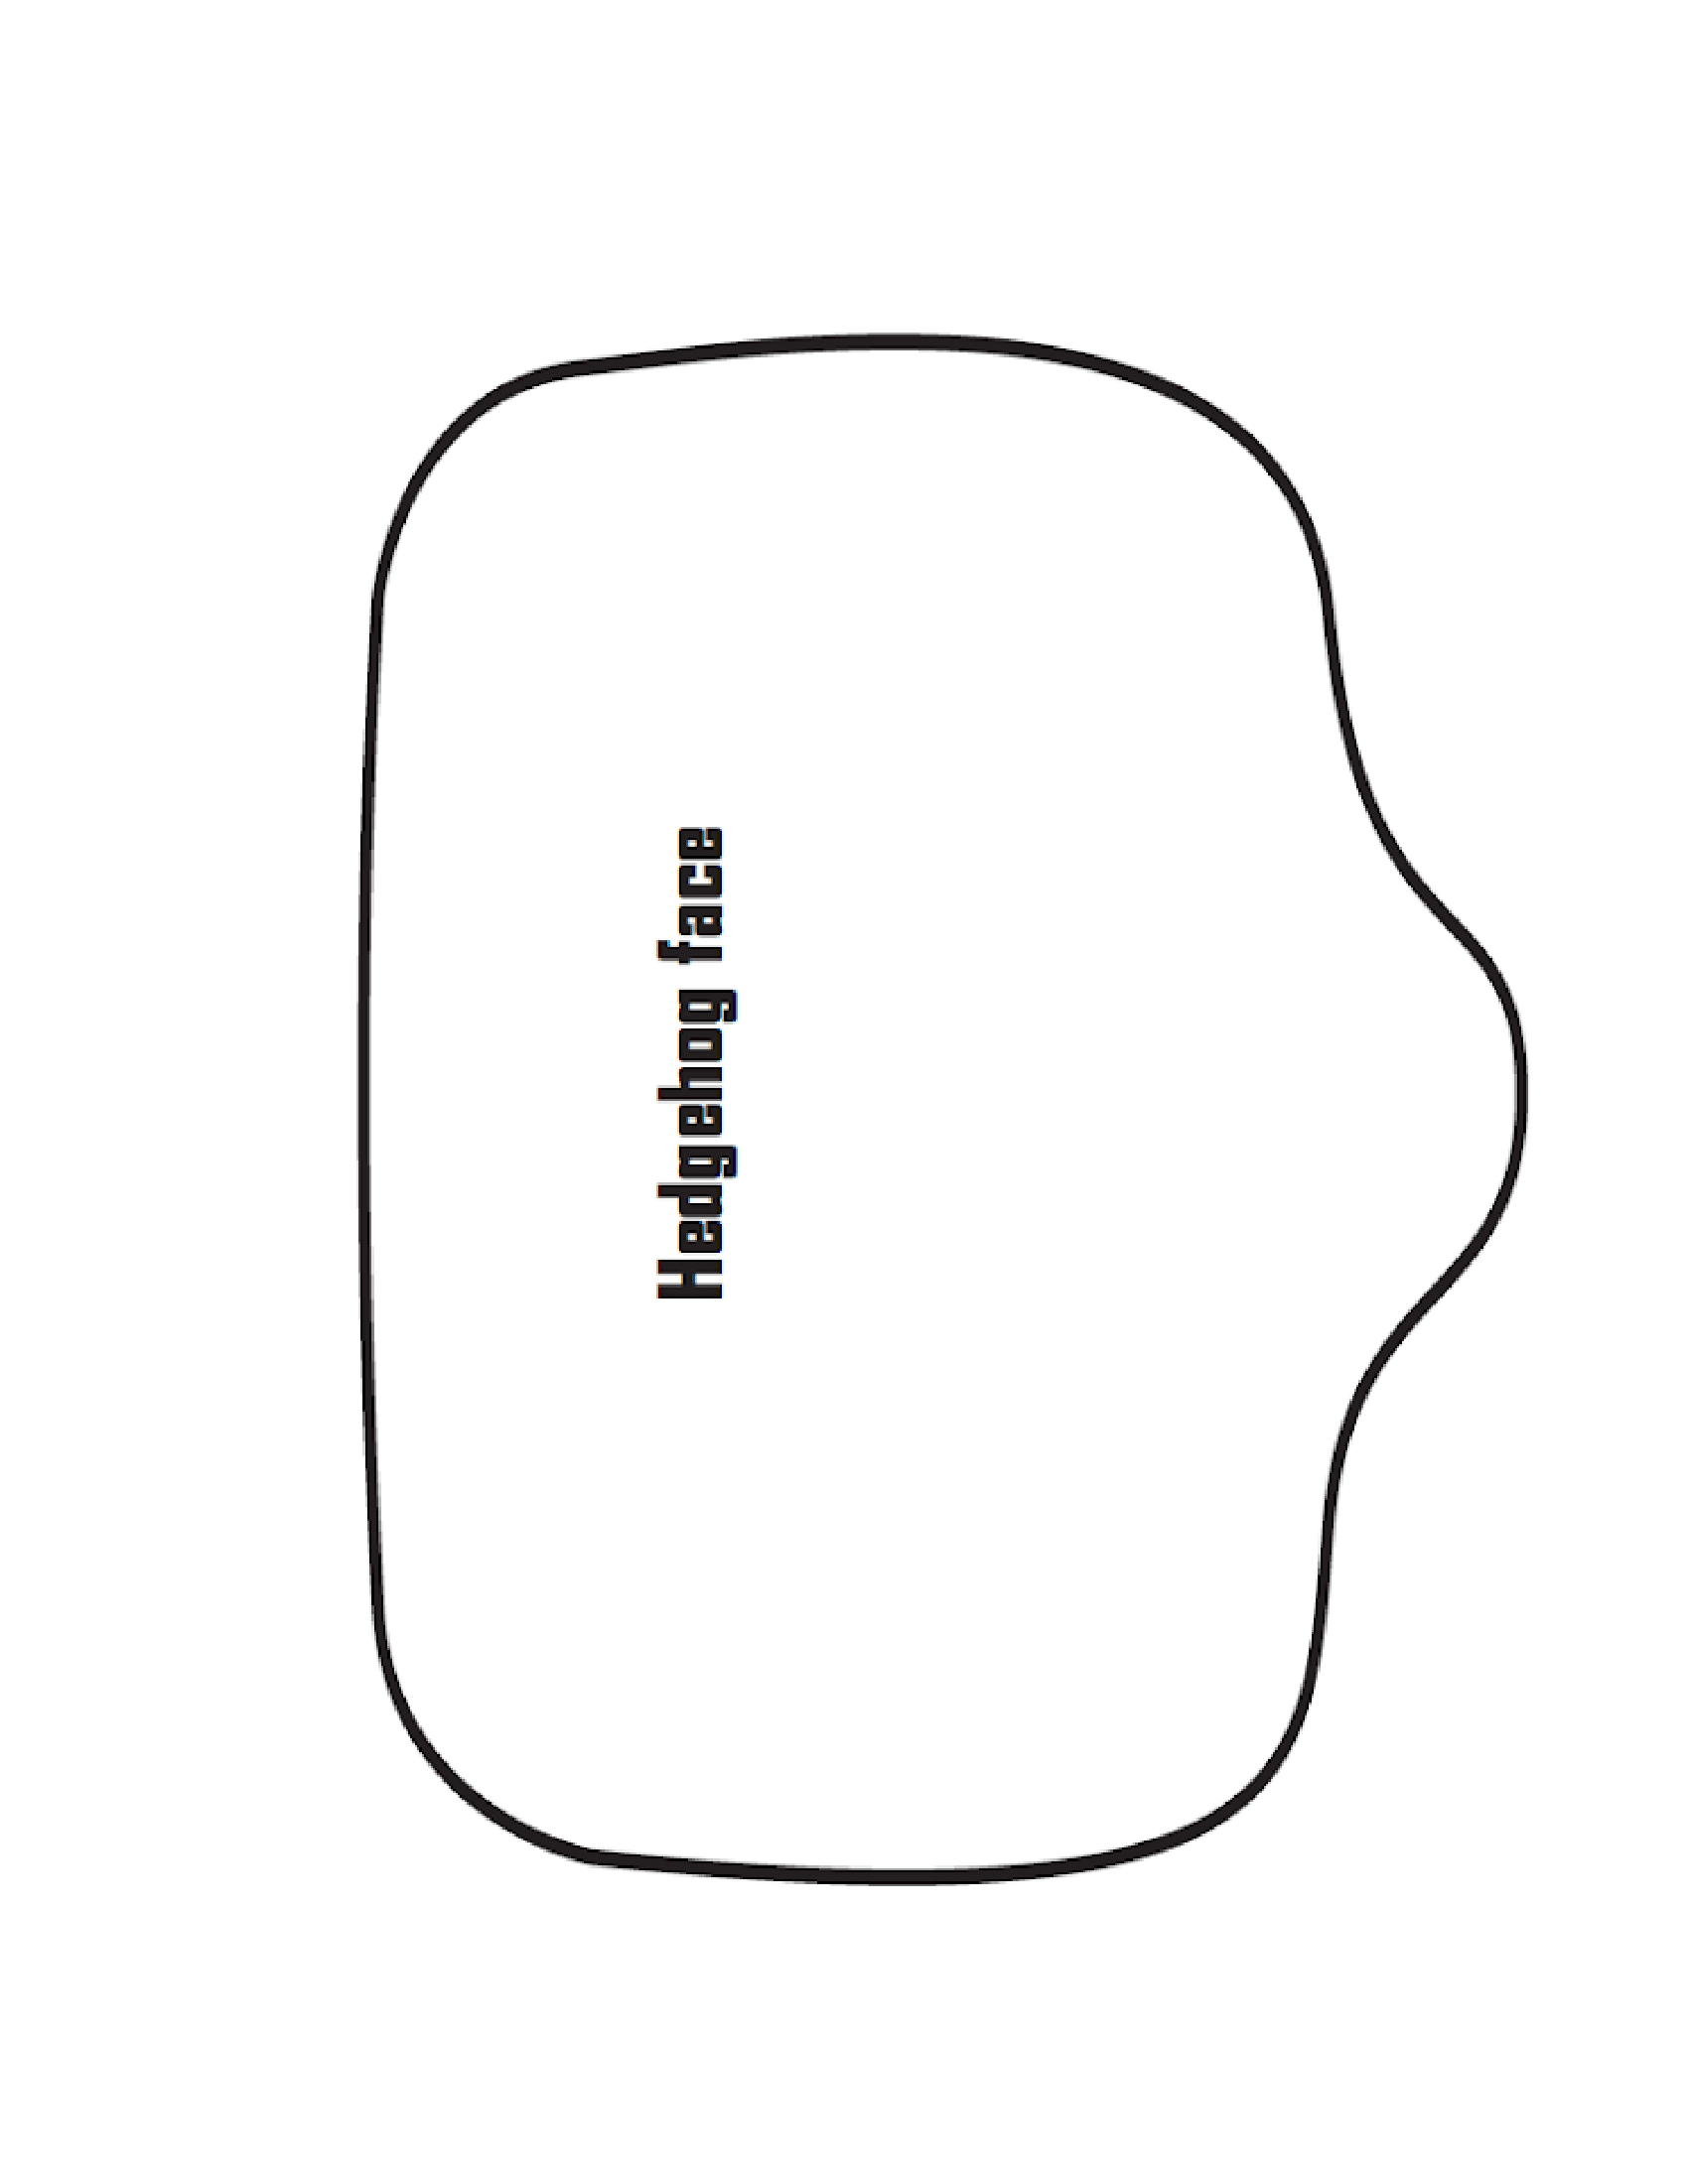
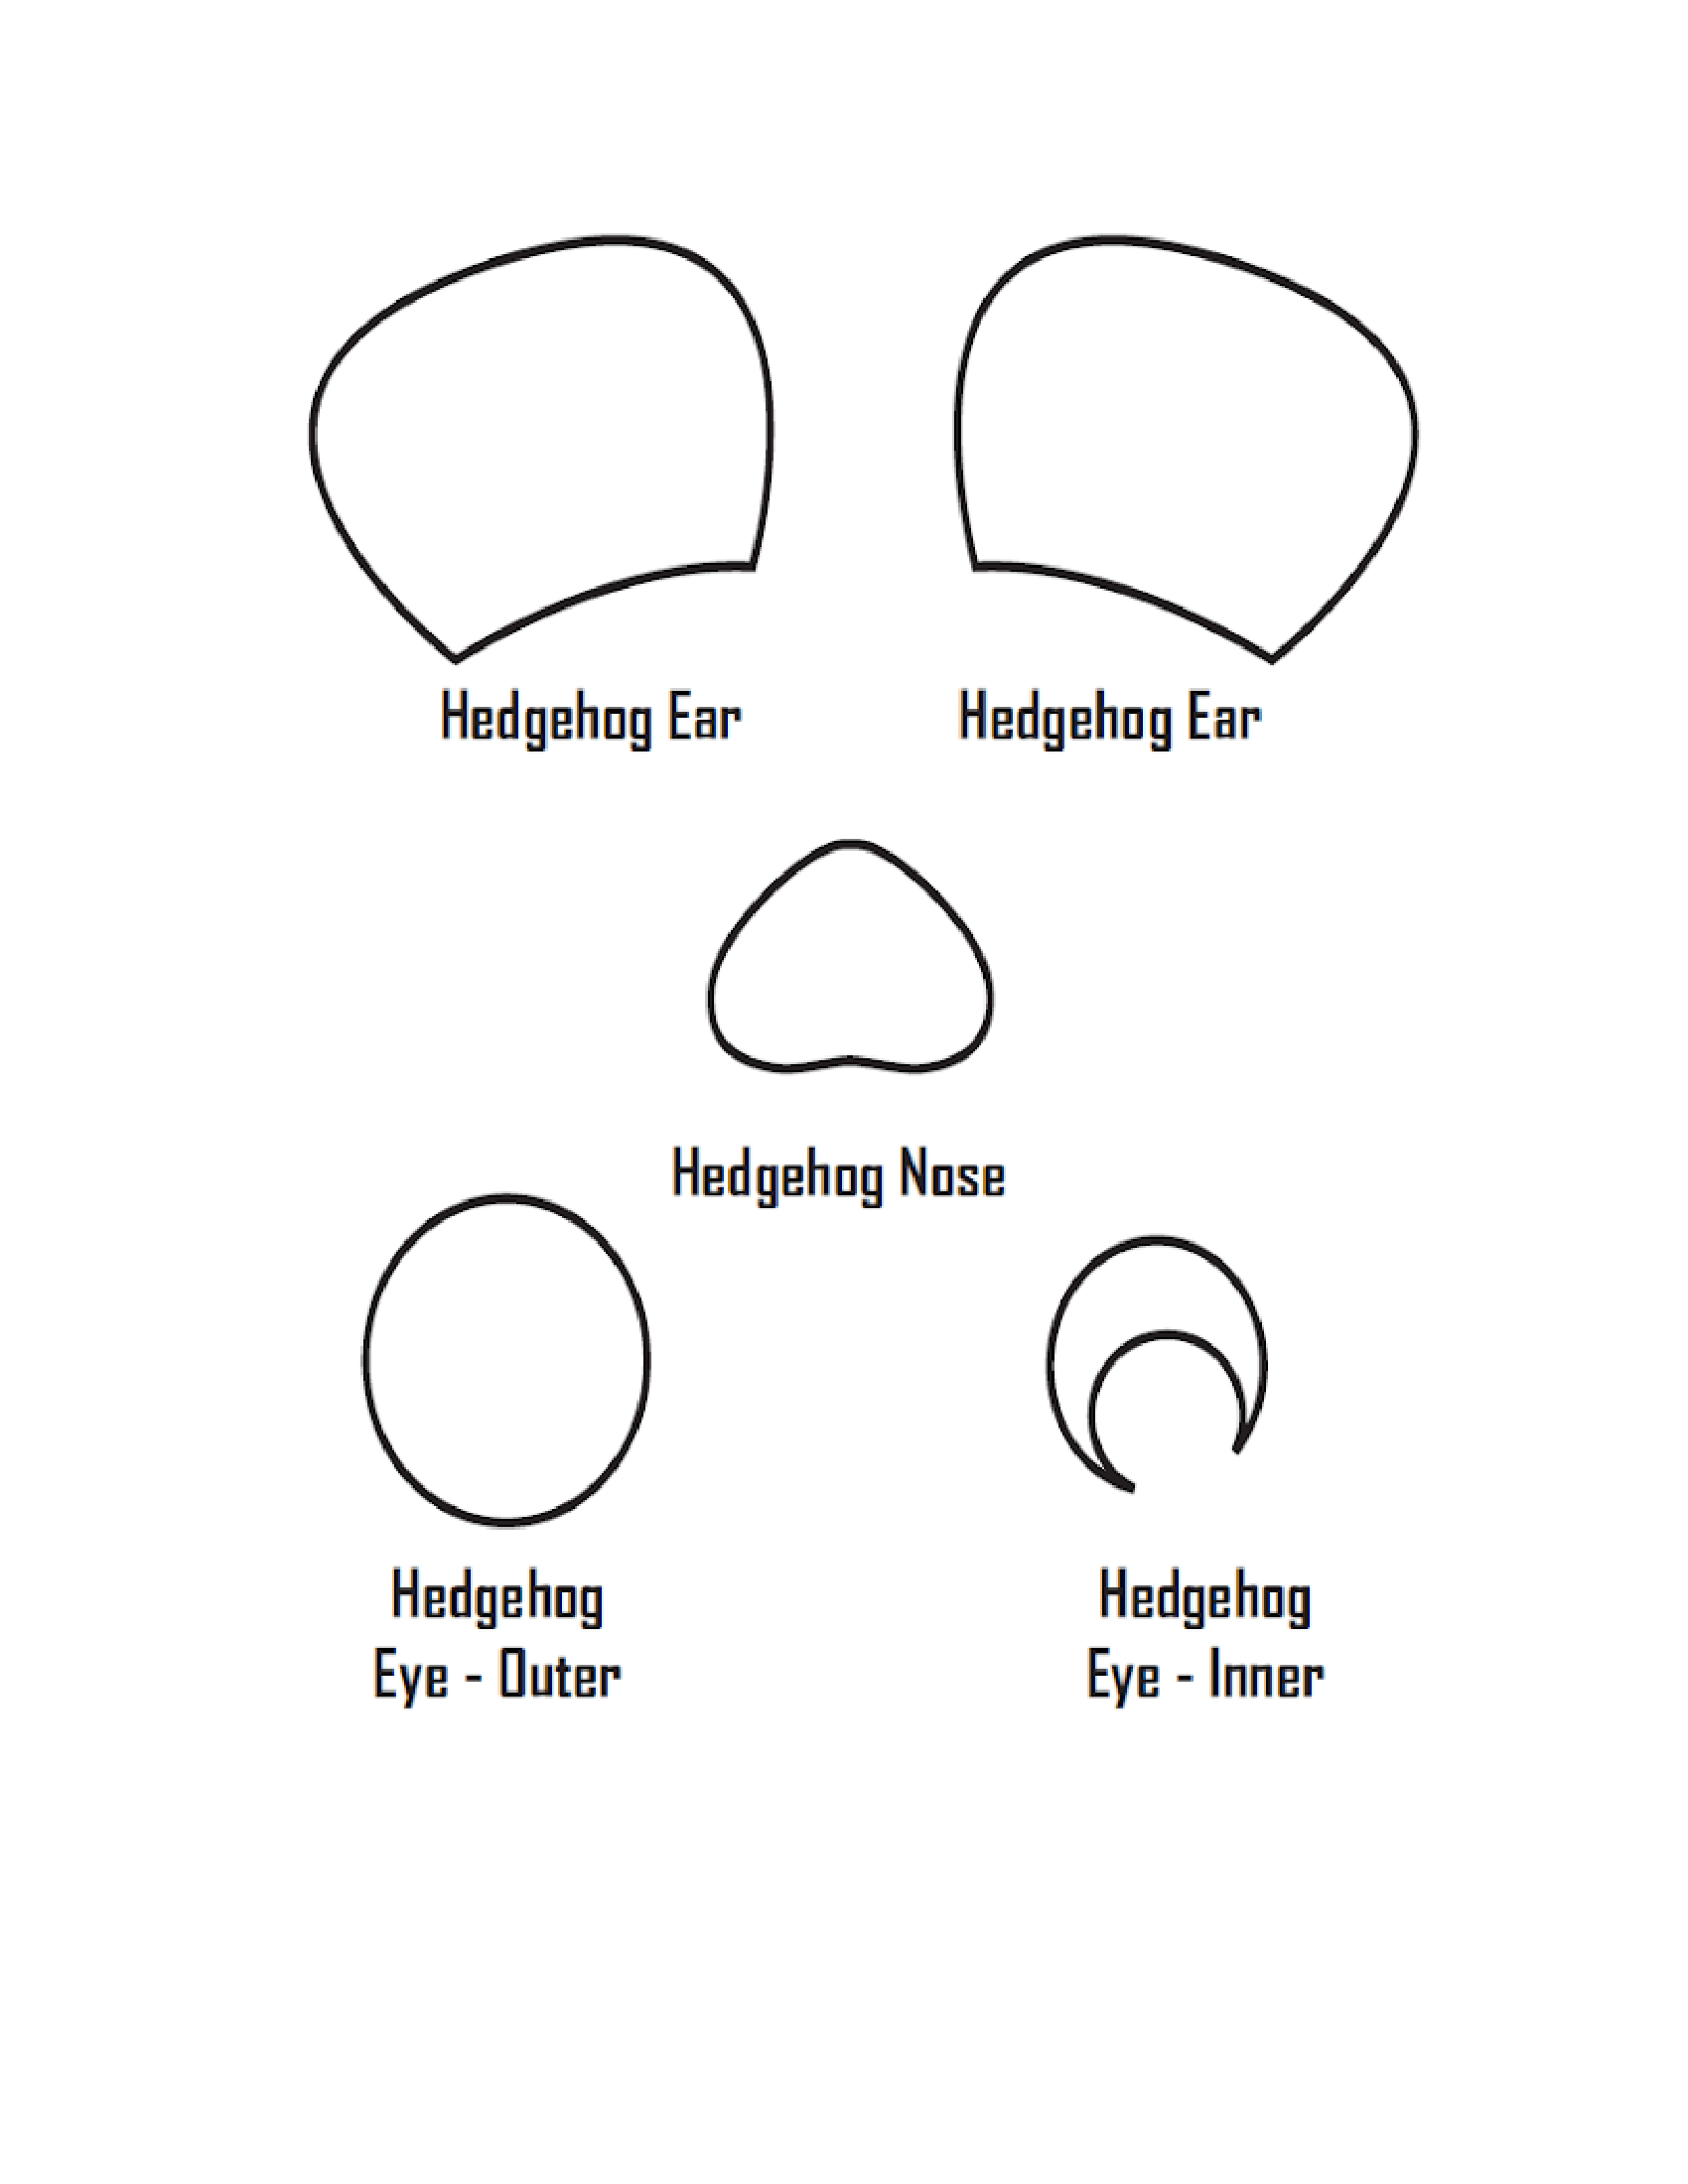
Henry Hedgehog Creation
Step One: Using the face tracers, students cut out the head and ears from manila tag board and the eyes and nose from black construction paper. (Students do not have to use tracers if they want to create these shapes themselves.)
Step Two: Students glue two layers of brown tissue paper strips onto the face and ears. Use the paint brush to brush the glue on each layer.
Step Three: Glue ears, eyes and nose into place.
Step Four: Students cut small one-inch circle from white paper and glue onto the black eyes.
Step Five: Glue the pieces of wool above and beside the eyes to be the hedgehog’s bristles and whiskers.
Step Six: Glue the top of the tongue depressor onto the back of the hedgehog face, centred and at the bottom.
End Product:
Class-set of characters from the story which can be used for role playing in Activity #5.
Fun with Fin:
Using the Fin image provided in the previous section, cut him out and glue onto a tongue depressor to make your own Fin stick-puppet.


2 - Ball For All #4